
As a first-time homeowner and single woman tackling it alone with only the moral support of my dog to assist in the day to day, I knew that I would need to learn about basic real estate processes during the house hunting and closing phases. I knew I would have to devise a way to stay on top of both cleaning a larger space and managing a yard on my own for the very first time, while also keeping my freelance business up and running. One thing I didn’t quite expect, though, is how acquainted I would become with tools as I endeavor to both maintain and upgrade my new home.
Thanks to a membership to the Minnesota Tool Library—an organization that functions just how you would imagine it to: a library that loans out tools instead of books—an expansive amount of tools are available to me, ones that I could never afford to buy individually (nor would I want to). As a result, I’ve continued to get more and more acquainted with the wide world of tools and the variety of projects that can easily be accomplished using them, which is the genesis of this series—an ongoing exploration of the new tools I come across in my new-homeowner endeavors.
For the flagship post, let’s with some basic tools. I recently built my own writing desk and successfully installed a hanging chair that’s actually able to hold human weight without ripping out of the ceiling. Here’s what I used to get the job done.

Bow Saw
When I think of saws, I always assumed the only options were traditional hand saws: the ones with a large blade and a handle on one side. Nope, there’s a whole family of saws out there and a bow saw, one that has something of a half circle of metal connection the front of the saw to the back of it, is ideal for woodworking because it can accomplish both straight and curved cuts. Who knew!
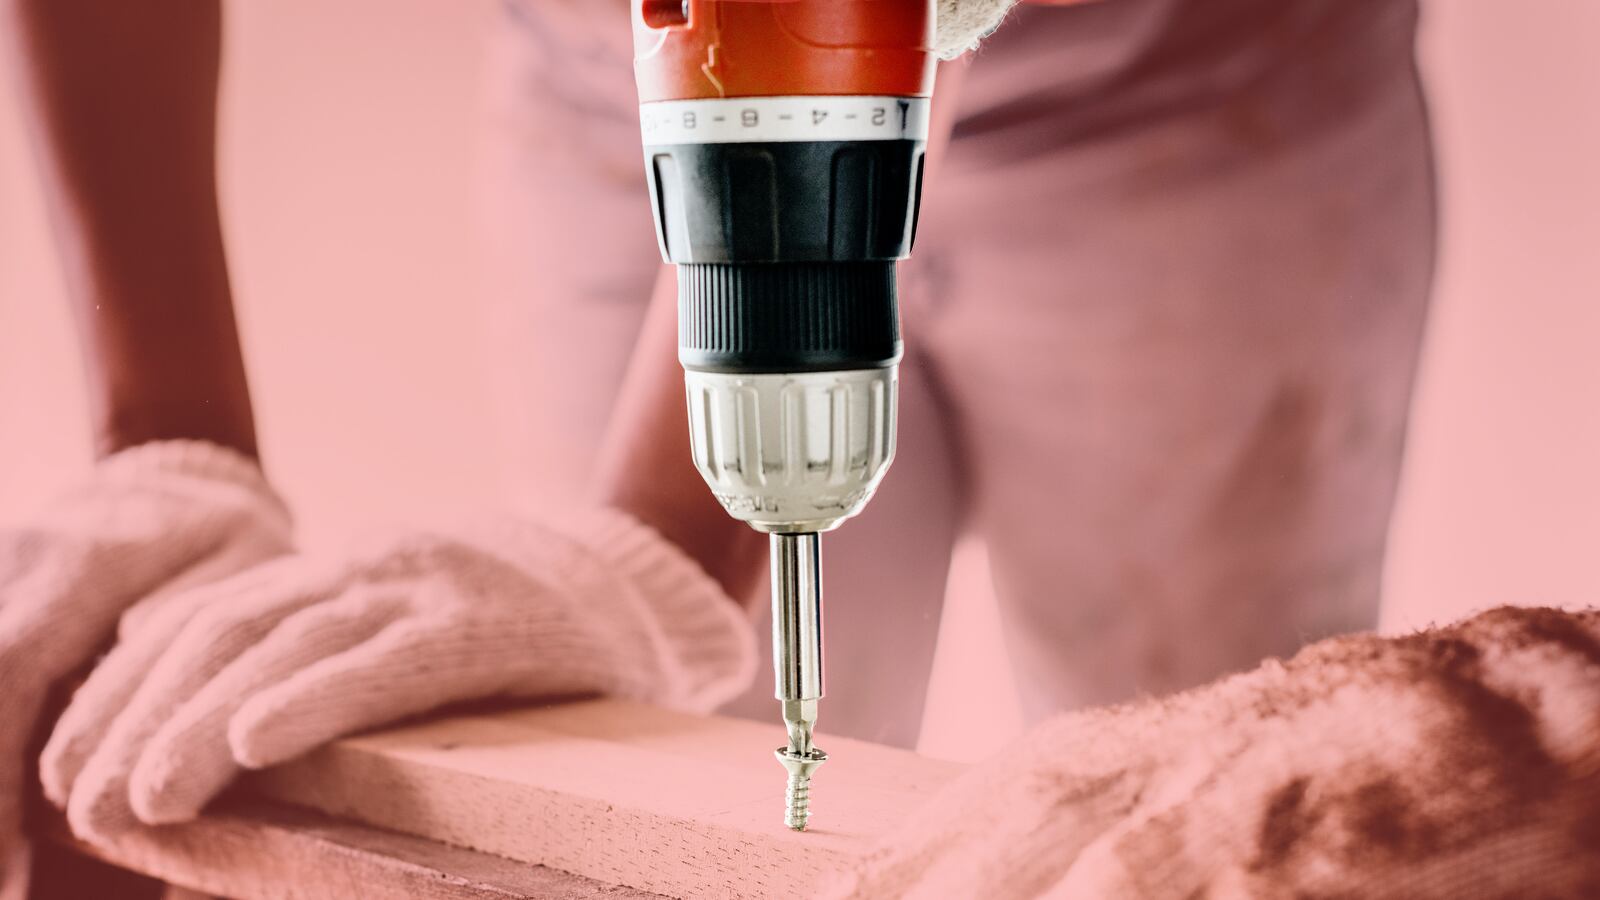
Power Drill
Of course I and everyone else know that power drills exist, I had just always assumed they were simply designed to make screwing things easier than a manual screwdriver could; I thought they were convenient, but far from necessary. I was wrong.
While the power drill certainly made screwing the legs onto my desk a much less effortful and significantly more precise adventure, it was most useful when it came to creating the pilot hole I needed to attach my hanging chair to the ceiling of my office.
I don’t know if you’ve ever tried, but manually screwing something into a ceiling joist (those beams that run across ceilings to keep the whole structure propped up) is not easy—it requires an upper body strength that I just don’t have. The Craftsman 19.2 volt DieHard drill and a drill bit I used, on the other hand, took about three seconds of effortlessness to carve out a pilot hole that now serves as a sturdy anchor for my hanging chair.
Joist Finder
Speaking of studs, it turns out that the obvious first step of drilling into a ceiling joist is finding where the joists are in the first place. While some people claim that you can tell where they are by simply knocking on the ceiling, I wasn’t about to take the risk of hanging my chair up just for it to come ripping out of the ceiling as soon as I sat on it. Joist finders take the guessing out of the process by locating exactly where the beams are.
You can come across a joist finder at almost any hardware store. Most are battery operated, which you’ll likely have to buy separately, and their price varies mostly on the depth through which they can reliable locate a joist. I went with a middle-of-the-road option, the Zircon StudSensor e50 and it got the job done quickly and easily, taking the guessing out of it.